Common Components
Independent of which tab is selected, some general components of the UI are common or even always present.
Changing the Layout
The layout of the GUI can be changed temporarily by dragging the splitters, which show the "^v" symbols. It is also possible to completely hide the lower Console and Tasks tabs by clicking the "V" symbol in the lower right corner. These changes are not saved and will be lost when the GUI is closed.
Plotting
All plots are running with the same back-end classes, which allows additional control via mouse and keyboard.
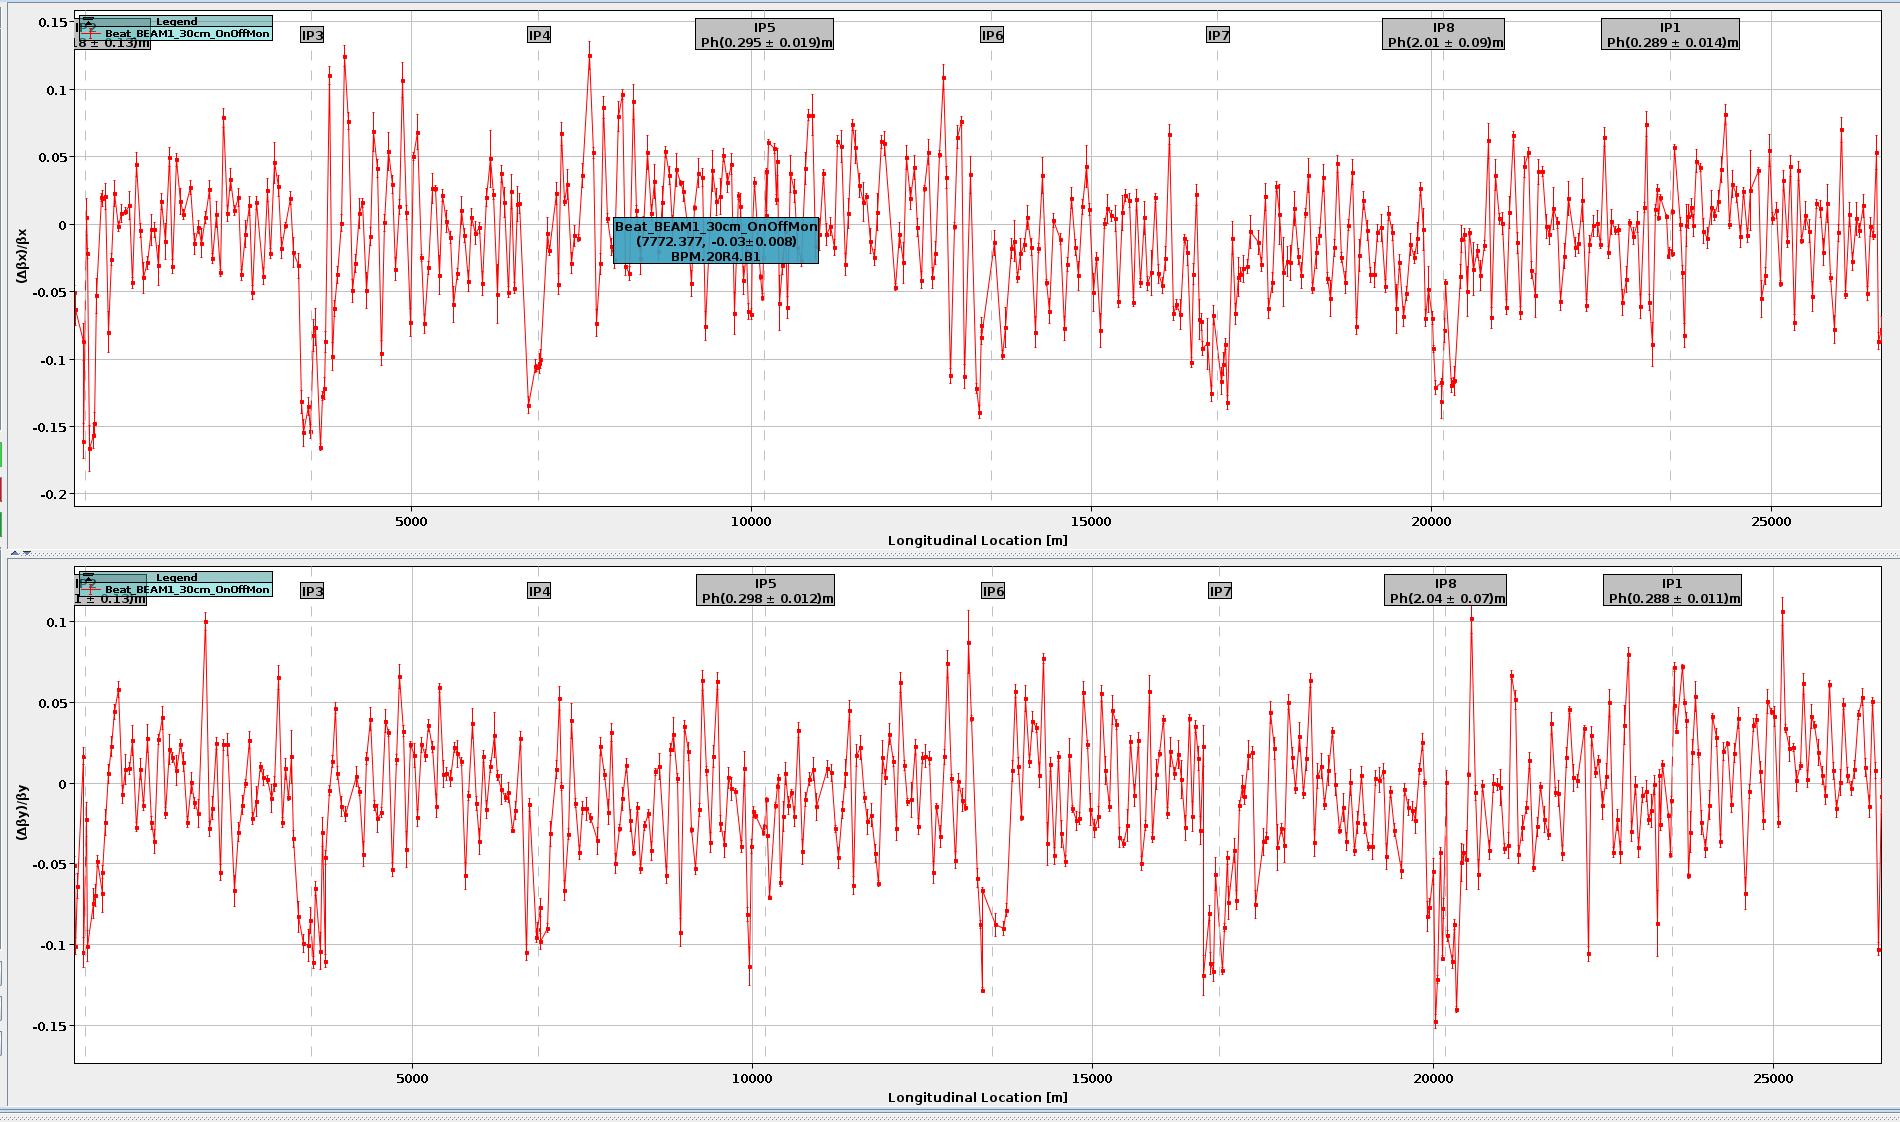
- Zoom: Zooming can be achieved by drawing a rectangle with the left mouse button or with the shortcuts listed below.
- Hover Info: The plots support the "hover" feature, which allows you to inspect additional details about the plotted points by hovering your mouse cursor over them.
Shortcuts
- Left Button : Draw and zoom into rectangle.
- Middle Button : Auto-zoom (in 3 Steps: 4σ, 3σ, 2σ).
- Right Button : Undo last step.
- Shift+Right Button : Undo all steps (reset plot).
- ⚙ Mouse Wheel : Zoom relative to mouse position.
- Shift+⚙ Mouse Wheel : Zoom y-axis relative to mouse position.
- Alt+⚙ Mouse Wheel : Zoom relative to plot centre.
- Shift+Alt+⚙ Mouse Wheel : Zoom y-axis relative to plot centre.
Top of the GUI

At the top left you can find buttons to start
- The model management.
- A settings window.
- The logging window.
The next part shows you which version of the omc3 and pylhc packages are installed in your
currently selected python environment and which ones are recommended by the current version of the GUI.
If you are using an older version than recommended, a lot of the functionality might still work, but some
features might be missing or not work with the arguments the GUI provides.
The coloured button and dropdown menu that follows is the RBAC (Role Based Access Control) menu, which shows you the current status of, and allows you to acquire, an access token, e.g. for the creation of knobs.
Next, in the middle of the screen, the currently selected model is shown. This is the model that is usually passed on to the python tasks and it can be changed in the model selection.
Finally, on the right side we have the current time in local time and UTC, as well as the beam/machine that was selected in the beam selection window and which defines the current folder structure.
Logging
There are multiple places to check for logs in the GUI.
Console

At the bottom of the GUI you can find the Console tab, which shows the most recent status entries. These are the logging information that come from the GUI itself and are very basic in nature. The most recent of these messages is also printed below, in the status bar.
Log Viewer
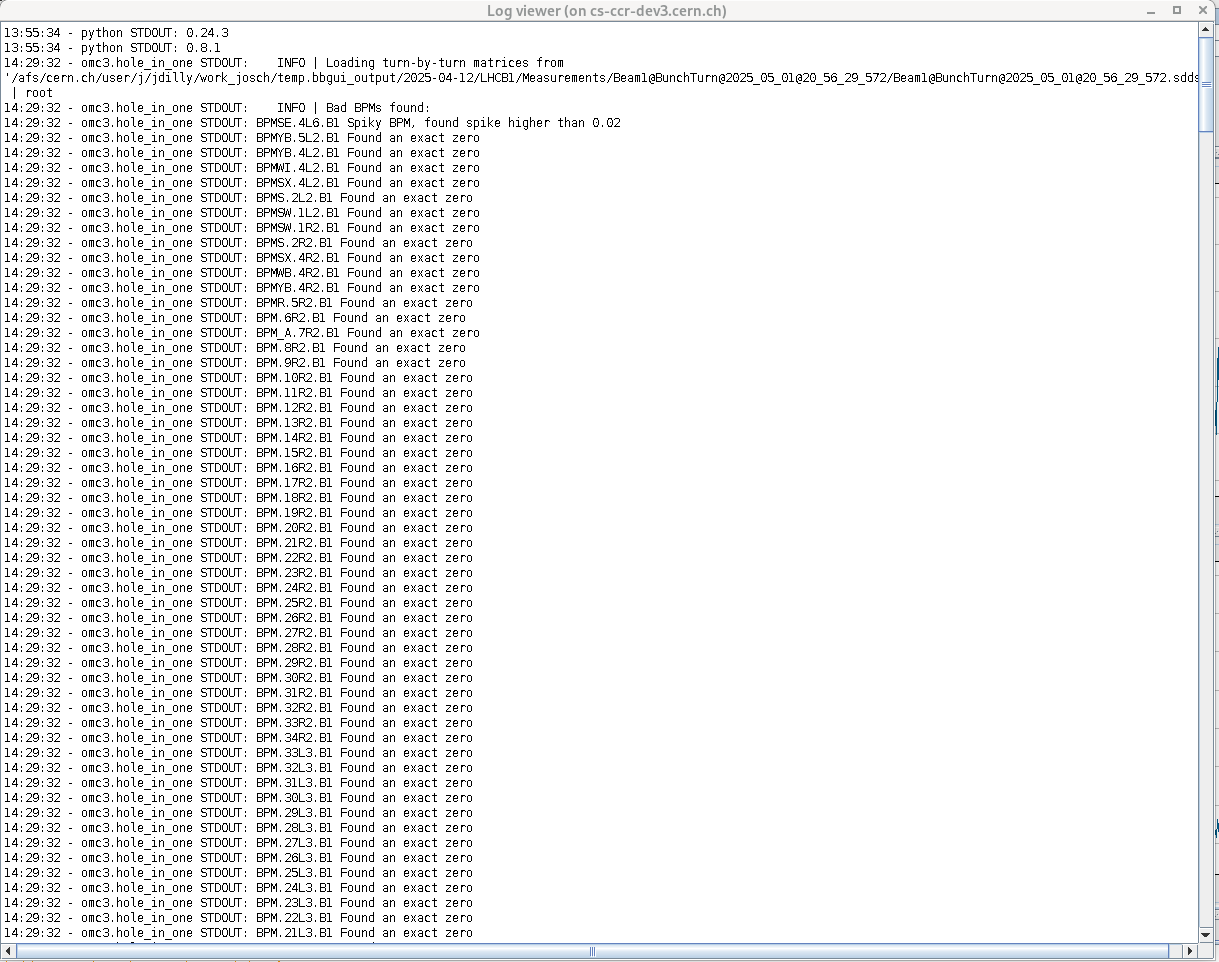
The Log Viewer can be opened via the third button on the top left and shows the captured output of the tasks started from the GUI. This information is much more detailed than the console, and should be consulted whenever an error is reported.
By default the python logging is initialised at the INFO level.
To enable a more detailed output, you can change the logging level to DEBUG for all tasks in the settings window.
Terminal
If the GUI was started from the terminal and the consoleLogging option is set to True
additional logging information will be printed to the terminal.
Running Tasks

A "task" in the context of this GUI means the running of an external program in a separate process.
Sometimes even multiple processes might be started consecutively in the same tasks, if they are dependent on each other.
As the GUI is a front-end for our python library, the external processes are usually calls to python modules,
constructed from the currently selected files and settings.
The exact call can often be found in the terminal or in the command.run files often created by th GUI in the selected output folder,
as well as at the top of the .ini files created by python.
When a task is started from the GUI, it is shown in the Running tasks tab found at the bottom of the GUI next to the console, with a small animation to indicate that it is running.
As long as any task is running, there will also be a small animation on the right of the status bar at the very bottom.
Cancellation of Tasks
Despite there being "Cancel" sign next to the running tasks, the tasks cannot really be aborted and either nothing will happen or the task entry will vanish, but the actual task will keep running in the background. This needs to be implemented in the future.
File Opening Dialogues
To make navigating between different folders easier, especially considering the deeply nested paths of afs and nfs,
some shortcuts have been implemented into the file opening dialogues, which become available for all relevant dialogues after the beam selection window.
They can be found at the top right of the dialogue, and hovering them will show their functionality:
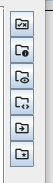
- First Path (): Return to the initial path you were in when the window opened.
- Input Path (): Go to the path set as Input Path in the beam selection window.
- Output Path (): Go to the path set as Output Path in the beam selection window.
- Root Path (<>)
Go to the root-path for the current GUI instance, i.e. the path in which the accelerator-folder (e.g.
LHCB1) is located. This is usually the date-directory within the output folder, unless you have chosen that folder as the Output Path, in which case it will be the same as the Output Path (see the Continue Analysis Admonition in the Beam Selection Window). - Fill Dir () (Only available for the LHC and only if the folder is mounted): Go to the fill-directory of the chosen accelerator.
- Accelerator Dir () (Only available for LHC, SPS, PS and PSB, and only if the folder is mounted): Go to the default OMC analysis directory of the chosen accelerator, which is usually the same as the Output Dir, if the default is used in the beam selection window.