The Screenshot GUI
The Screenshot GUI is a small utility to capture a screenshot and upload it straight to the logbook. It is handy during operations, when one constantly wants to log settings, quick plots or the state of another GUI.
Requirements
The tool needs to run inside the GPN and be logged in to write to the logbook.
When started from the CCM under an operational account (e.g. LHCOP during LHC shifts), this is already taken care of.
This page provides a quick walkthrough of how to set it up to send screenshots directly to the OMC logbook.
Opening the Client
The GUI is started from the CCM.
In the search bar, type screenshot and launch the Screenshot LIBD logbook.
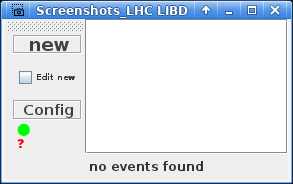
Selecting the Logbook
Before capturing anything, the target logbook has to be set.
- Click the
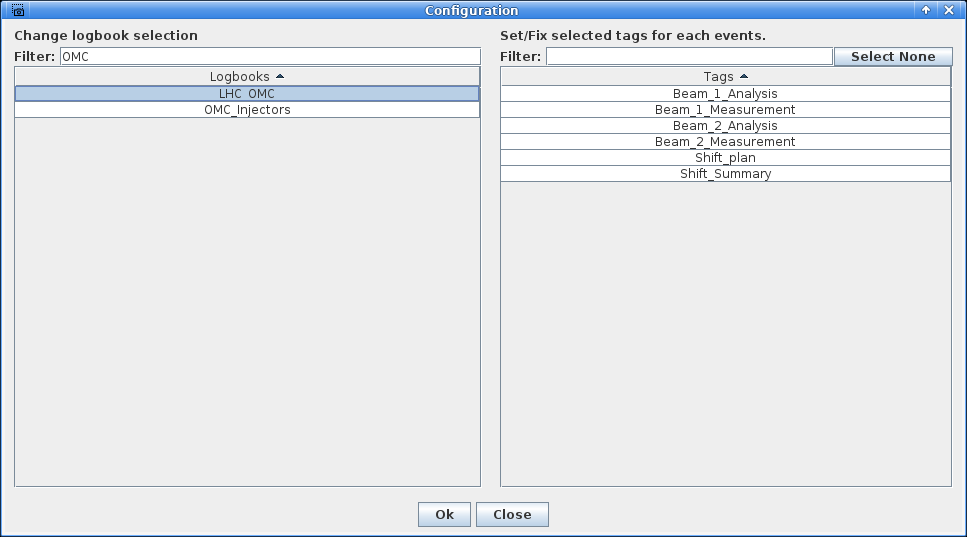
Configbutton to open the configuration popup. - Select the specific logbook to send the screenshots to.
OMC Logbooks
Searching for OMC will bring up the only two OMC logbooks, LHC_OMC and OMC_Injectors.
It is possible at that time, in the right part of the popup window, to select a tag that will be assigned to entries made via the screenshot tool.
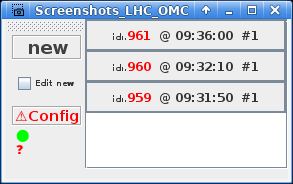
Once configured, the right part of the window lists the recent logbook entries. Each entry is displayed with a three-digit number, corresponding to the last three digits of the actual logbook entry.
Taking a Screenshot
There are two ways to capture a screenshot, depending on where it should go:
- To create a new logbook entry along with the screenshot, click the
Newbutton in the top left. - To add the screenshot to an existing entry, click the corresponding entry in the list on the right.
Clarifying the Entry
Hovering the mouse over a list item shows a preview of the corresponding logbook entry.
After choosing either option, the client window hides itself to stay out of the capture. From there, one can:
- Drag-select a region of the screen to capture it.
- Right or left-click a window to capture that entire window.
At any moment in this capture mode, pressing Esc exits it and brings the client window back. What happens next depends on whether the logbook is currently open in a browser:
- If it is not open, the screenshot is simply uploaded in the background.
- If the logbook is open somewhere, a popup appears in it to attach the file to the entry, exactly as when adding an attachment manually. Confirm it and the upload is done.
- Note that if the confirmation dialogue for a previous screenshot is still open, then confirmation is skipped for this one.
Organising Screenshots
To help keep entries clean in the logbook, it is very much recommended to write a caption for each screenshot in any entry with several screenshots.
It is possible to reorganise screenshots for an entry by clicking the menu in its top left, then selecting Attachments Editor.
There, various elements can be deleted, reordered, or have their caption altered.